- Product Lines
-
Motor Homes
Motor Homes
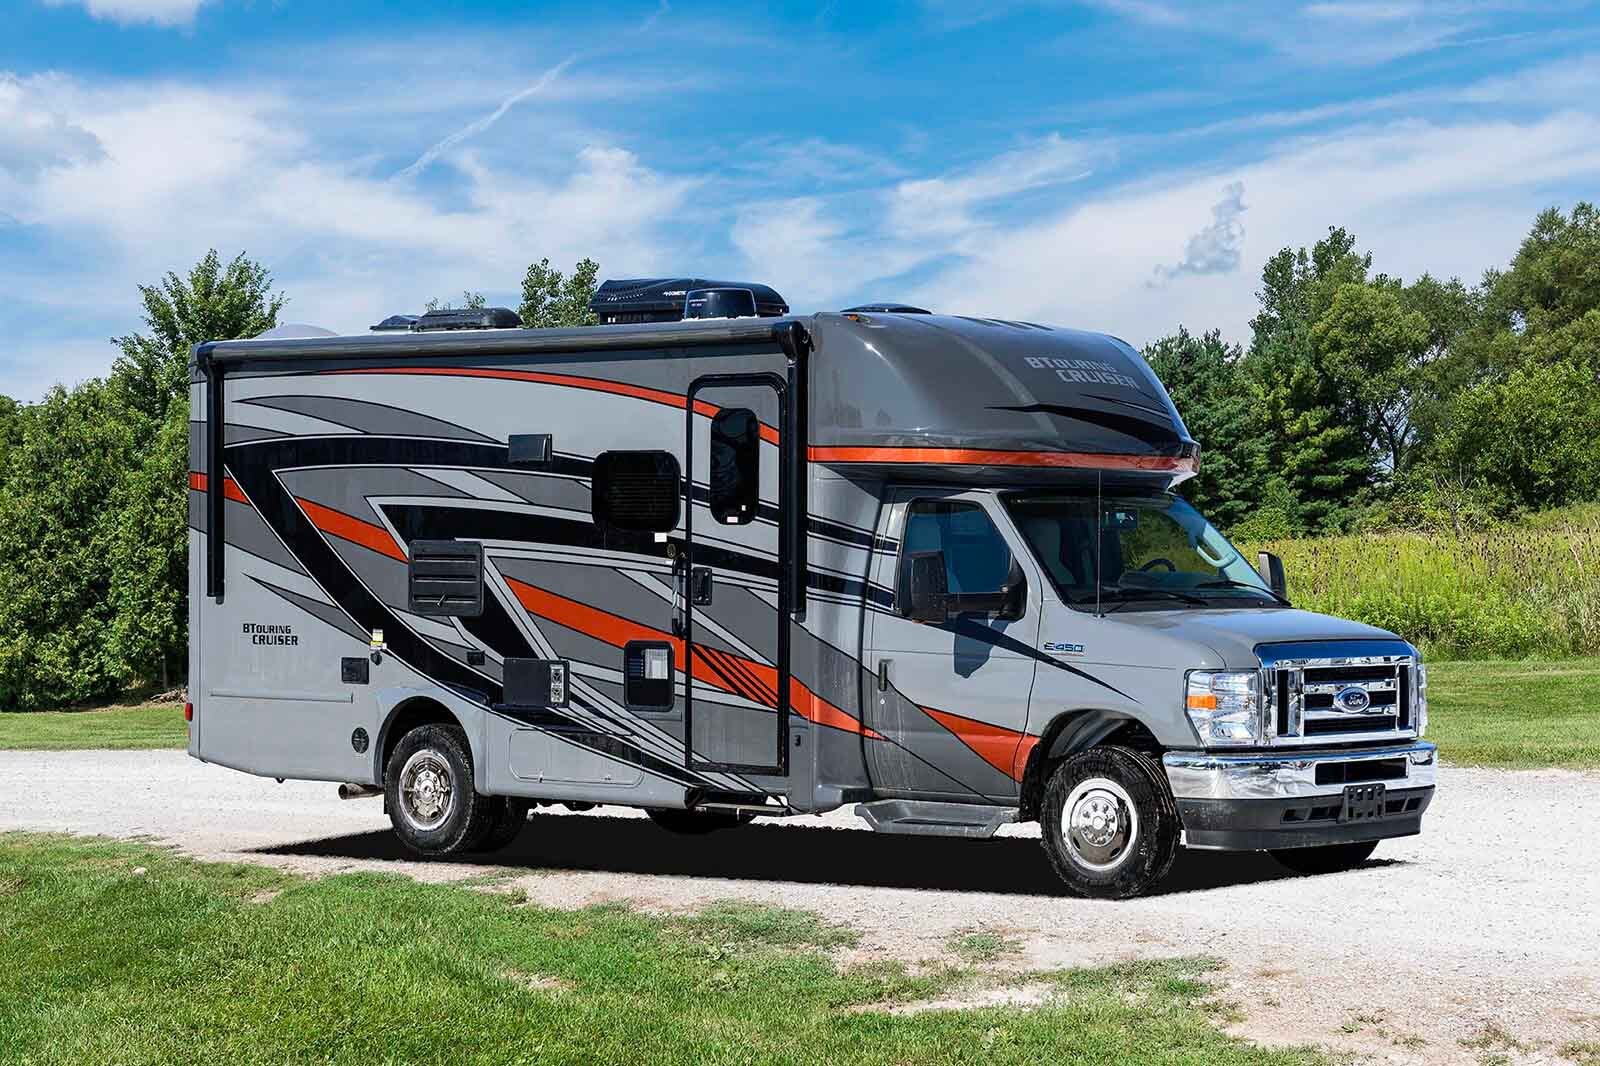
Turn the World into Your Back Yard
Explore everything from the wilderness to the big city; enjoy everything from a campfire to HDTV, all with the confidence that comes from our commitment to quality, value, and innovation. -
Travel Trailers
Travel Trailers
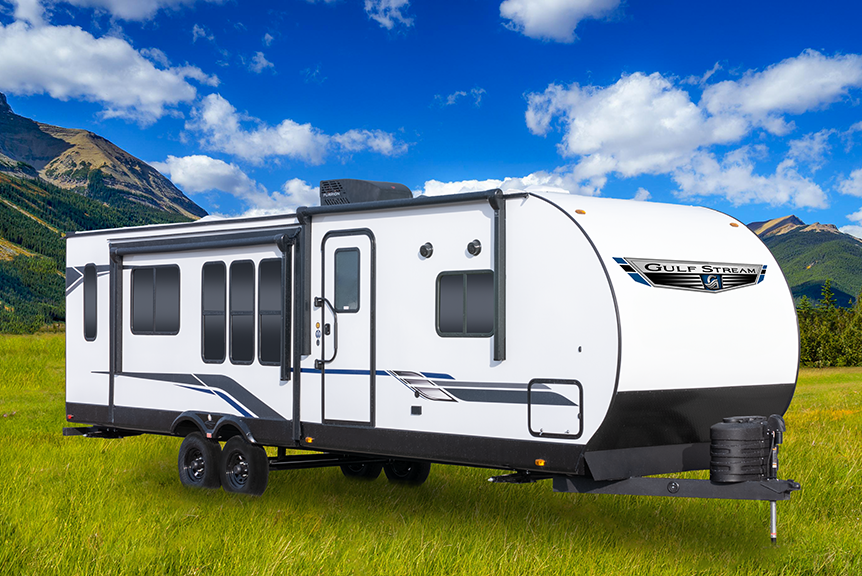
Where Experience and Innovation Come Together
Our Travel Trailers are the core of our production, featuring time-tested construction,
the latest technology, advanced materials, and stylish interiors. -
Light Weight Trailers
Light Weight Trailers
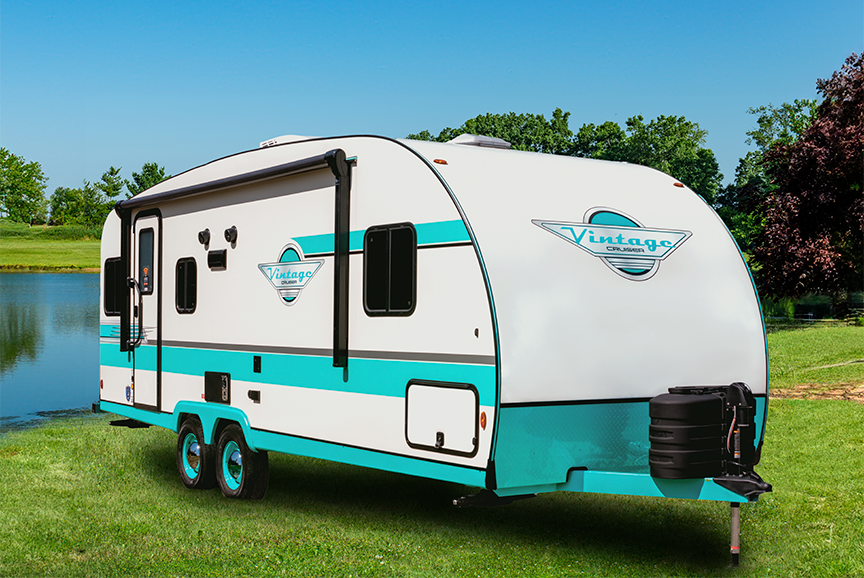
Take more stuff, have more fun in our Light Weight Trailers
By minimizing weight, we give you more capacity for people, toys, cargo, and fun - Our lightweights save money and fuel
when you're towing, and are available in all price ranges, sizes, and styles. -
Destination Trailers
Destination Trailers
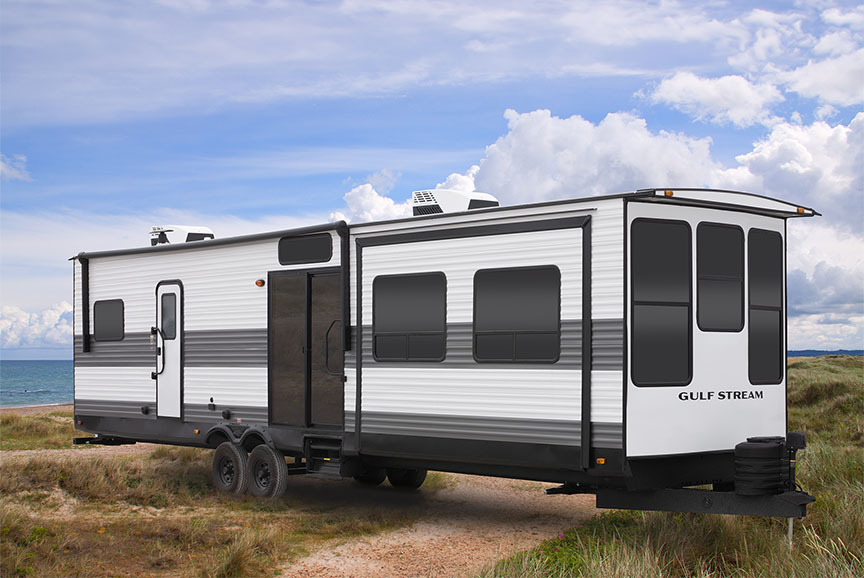
The vacation home you've always dreamed of
Love the great outdoors? Stay as long as you want! Our Destination Trailers provide your whole family with the accommodations you need for a full season of fun. -
Fifth Wheels
Fifth Wheels
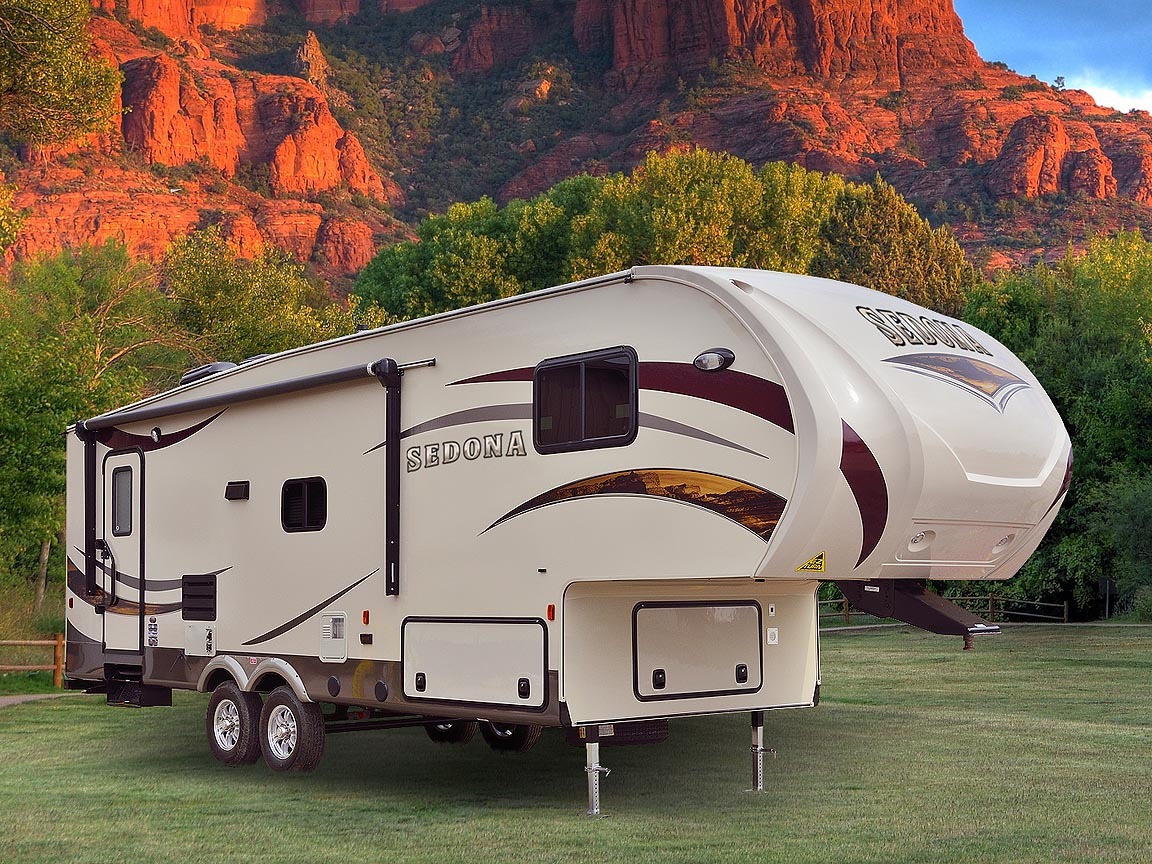
The Ultimate Towables
Our Fifth Wheels are easy to maneuver, tow like a dream, and give you great living space. No wonder they're the perfect choice for people with pickups!
-
Motor Homes
- Shopping Tools
- Dealer Locator
- Employment & Company News
- Owner Resources
Re-Sealing Basics
Roof-Sealing Is Essential!
(Back to Table of Contents)
Resealing your RV roof and other seams is really important, because it helps you keep one of the biggest threats to your RV from causing damage - Water leaks. Water can be your RV’s worst enemy, compromising the structural integrity of the roof itself, as well as any other area that water can reach, including walls, floor, cabinetry, and other furnishings.
Water leaks can introduce rot, mold, and mildew, often in areas that are virtually impossible to reach without major repairs. It’s also important to know that guarding against water damage by re-sealing seams and joints is a requirement of your warranty. It is possible that repairs may not be covered by a warranty if simple, owner-required re-sealing has been neglected.
TPO or EPDM? - And what are they, anyhow?
Unless your RV has an aluminum or fiberglass roof, it is likely covered with one of these two rubbery, flexible membrane-like sheets:
- TPO (Thermal Poly Olefin), or
- EPDM (Ethylene Propylene Diene Monomer)
Different sealing products are available and recommended depending on whether you are sealing TPO or EPDM. It’s easy and smart to ask your RV dealer to recommend a sealing product - They will often have the product they recommend in stock, and know how well it performs.
If you are unsure which of the two membranes is used on your RV, you can check with the manufacturer or the dealer, or you can check the membrane itself. TPO is the same color on both sides (typically white or off-white), and often has a fleece backing on one side. EPDM, on the other hand, is white (or off-white) on one side and black on the other, with no fleece. You can often get an ‘inside look’ at the material used on your RV by removing the interior frame around a vent or skylight, to see the roof membrane that wraps under the roof opening.
Unless you are able to work indoors, you’ll want to choose a warm, clear day without the threat of rain. Establish whether your RV has a “walkable roof.” If your RV has a factory-installed ladder, it is a good indication that the roof will support the weight of a a person (up to 250 lbs.) doing maintenance and repair work.
If you are unsure about the strength of the roof, don’t take chances. Use sheets of plywood to spread your weight across a broad section of the roof, or do your work from sturdy ladders positioned next to the RV.
What is the right material to use?
When re-sealing your roof, a self-leveling RV roof sealant is best. As its name suggests, this type of sealant will settle into cracks and joints, and will level off as it dries. It’s the right choice to seal seams around skylights, vents, and other accessories mounted flat on the rooftop.
On the other hand, if you are re-sealing joints and cracks on vertical surfaces, around windows and other openings, choose a non-sag sealant that will stay in place while it dries.
Note: While they have many admirable properties, widely available silicon sealants aren’t the best choice for roof repairs, because they don’t adhere securely to other sealants, creating a risk of failure where new silicon is applied over old seals.
There are several alternatives to these sealants, including sealant tape and patch kits. These make quick repairs of small areas easy, and can be used for small holes or tears in the roof membrane. More on these below.
Let’s get started!
Like many other maintenance processes, re-sealing starts with this instruction: Make sure the area you are working on is free from dirt, loose caulk, or other foreign matter. A wet rag can often clean the surface adequately. A slightly soapy rag can help with stubborn stains, grease, etc.; avoid any citrus, petroleum, or alcohol-based solvents.
Loose caulk can be scraped away with a hooked blade or other scraper. When scraping accept the fact that old caulk won’t re-seal or otherwise ‘get better’ if left alone. When in doubt, remove old caulk that looks like it may fail in the near future.
Load Your Caulking Gun
Load up your caulking gun with the sealant of your choice. Make sure you follow the instructions above, choosing a product that is compatible with your roof type and the job you will be doing.
Cover Well
Cover the areas you wish to seal with the RV sealant. Keep an eye out for trouble spots and make sure they are well-sealed. This new layer of sealant should completely cover any old sealant, and no gaps should be left between the sealant and the surface it is covering. Keep in mind that “function” is more important than “fashion.” That means that you should concentrate on filling gaps, voids, and openings, even if your application isn’t particularly neat.
Patch Holes and Rips
While up on the roof, inspect things thoroughly. If you find any holes or rips in the rubber, make sure to patch them right away. Consider using a patch kit or sealant tape for damaged areas.
Done With The Roof? Other Things May Need To Be Re-Sealed
Your RV isn’t the only thing on your home-on-wheels that needs sealing. There are plenty of seams along the sides of any rig that need to be sealed up once in a while.
Sealing RV Windows and Storage Bays
Windows and storage bays can leak where they meet the exterior wall of the RV. In some cases, simply running a bead of non-sag RV sealant along the seam is enough to keep water out. However, sometimes it is necessary to remove a bay door or window to replace the butyl tape. You’ll find resources online and elsewhere to guide you through that process.
Sealing RV Corners
The corners of the RV will also need to be resealed from time to time. This can be done with a bead of non-sag sealant, but the end result will look much more professional if you actually remove the corner trim pieces, replace the butyl tape, replace the trim pieces, and then put new vinyl trim insert pieces in place.
Sealing Other Parts and Pieces
Other parts and pieces on the outside of an RV like the outdoor shower, outdoor outlets, and the fridge vent can be sealed up using non-sag RV sealant, and many can stand to be removed and given a new layer of butyl tape from time to time.
The sooner you seal up those seams, the longer your RV will serve you and your family. Your work will protect the investment you have made in your RV and avoid time-consuming and expensive repairs. You have the ability and knowledge to preserve years of great times and happy memories in your RV. Get out there and do it!