- Product Lines
-
Motor Homes
Motor Homes
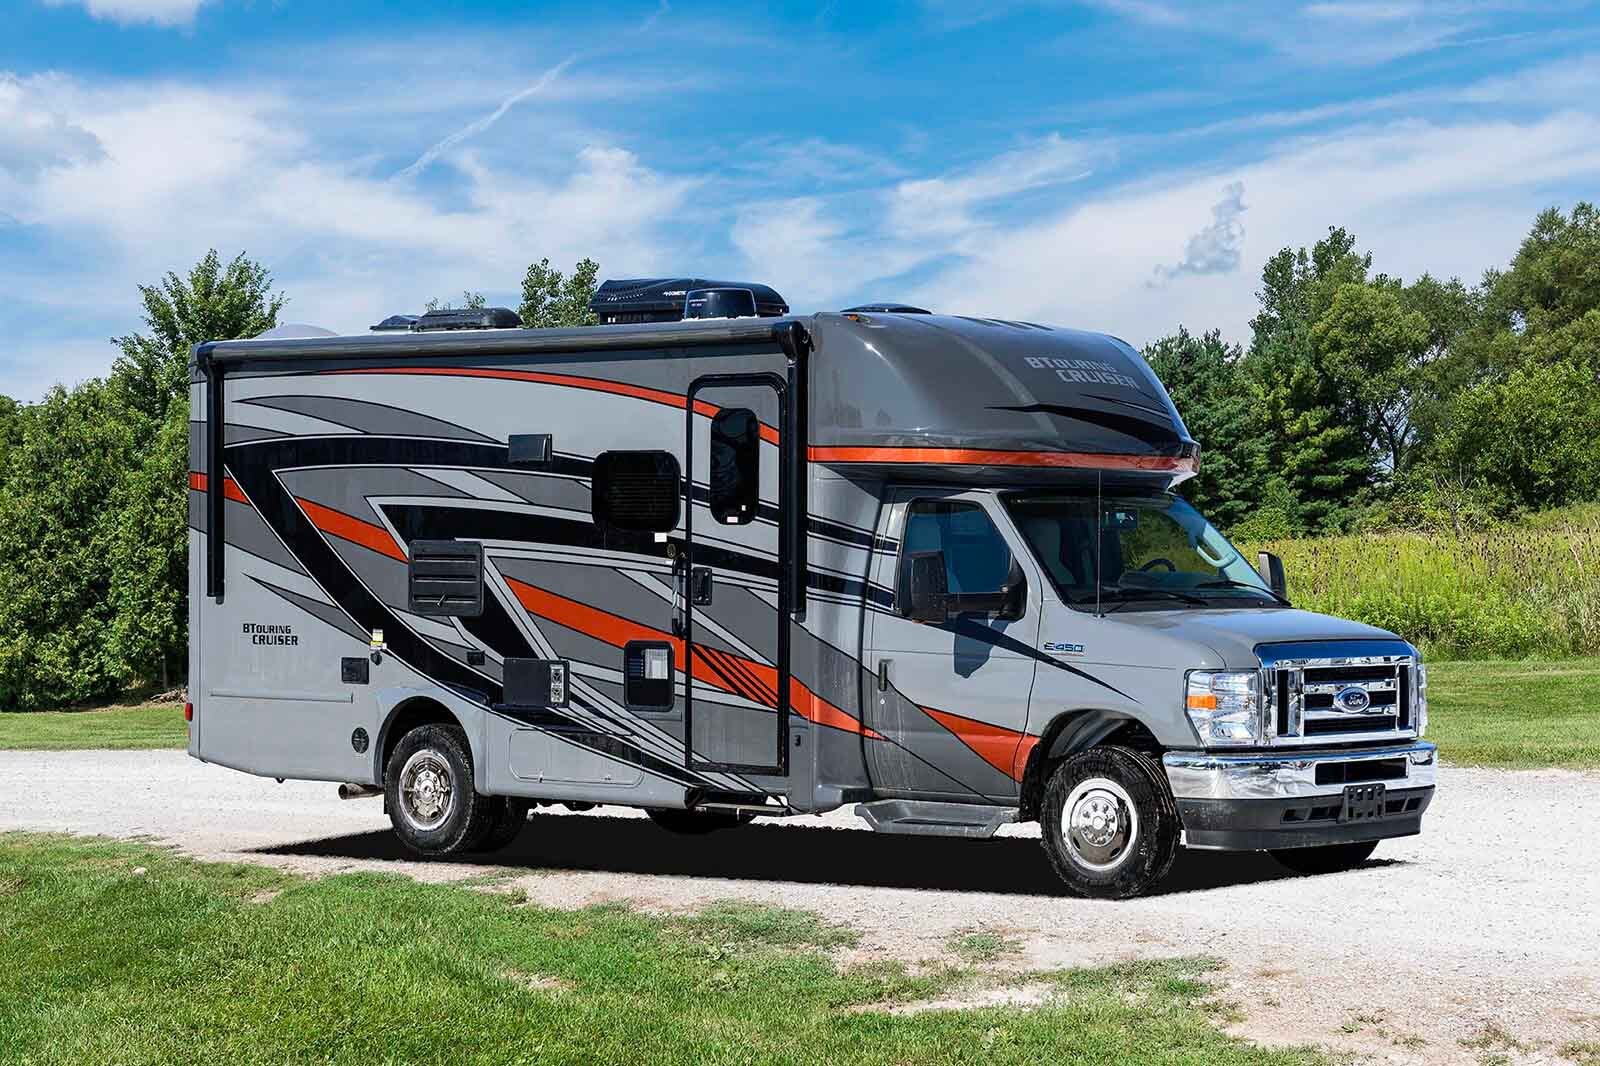
Turn the World into Your Back Yard
Explore everything from the wilderness to the big city; enjoy everything from a campfire to HDTV, all with the confidence that comes from our commitment to quality, value, and innovation. -
Travel Trailers
Travel Trailers
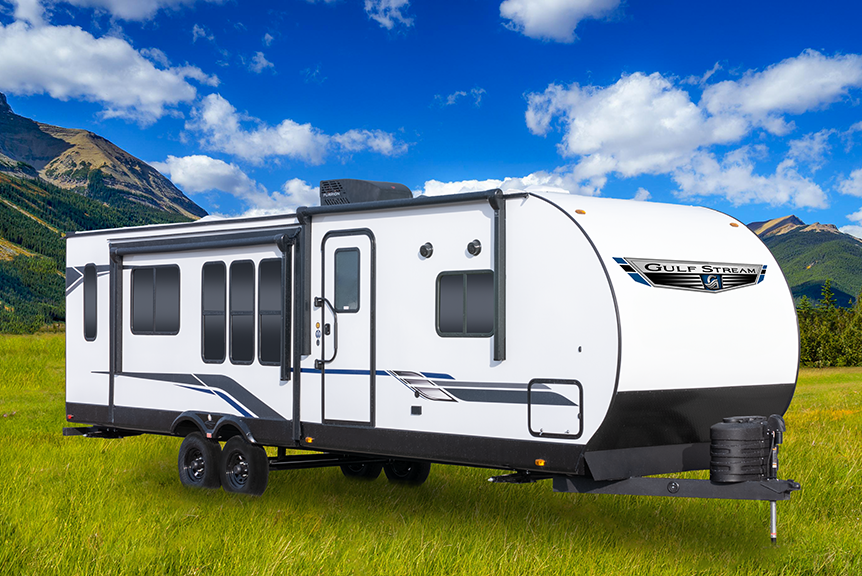
Where Experience and Innovation Come Together
Our Travel Trailers are the core of our production, featuring time-tested construction,
the latest technology, advanced materials, and stylish interiors. -
Light Weight Trailers
Light Weight Trailers
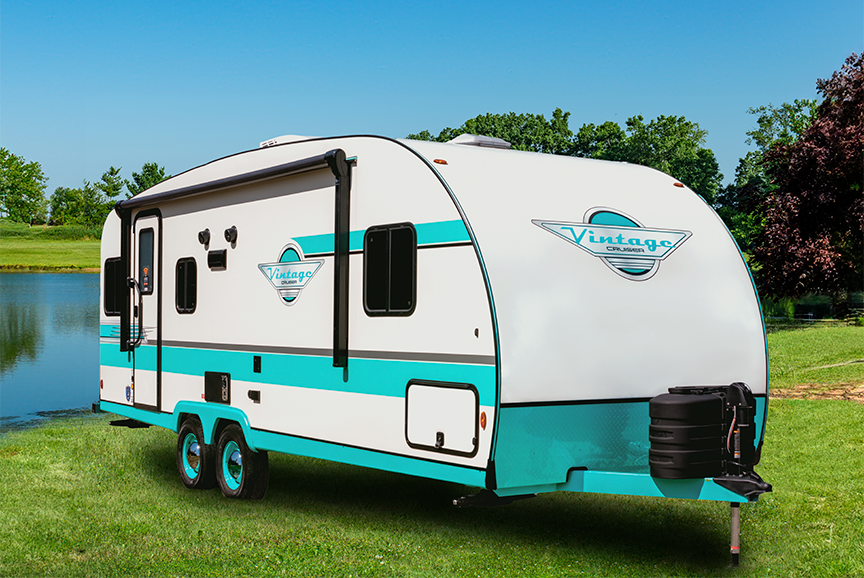
Take more stuff, have more fun in our Light Weight Trailers
By minimizing weight, we give you more capacity for people, toys, cargo, and fun - Our lightweights save money and fuel
when you're towing, and are available in all price ranges, sizes, and styles. -
Destination Trailers
Destination Trailers
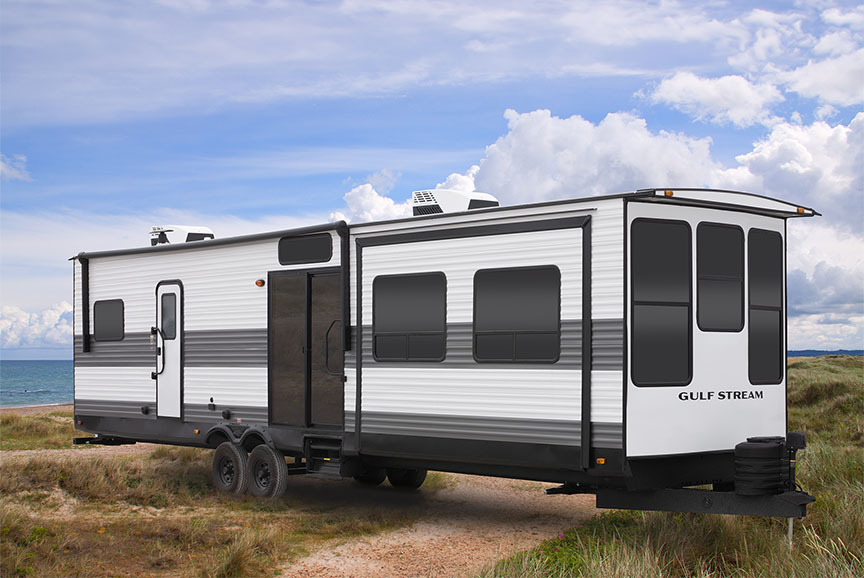
The vacation home you've always dreamed of
Love the great outdoors? Stay as long as you want! Our Destination Trailers provide your whole family with the accommodations you need for a full season of fun. -
Fifth Wheels
Fifth Wheels
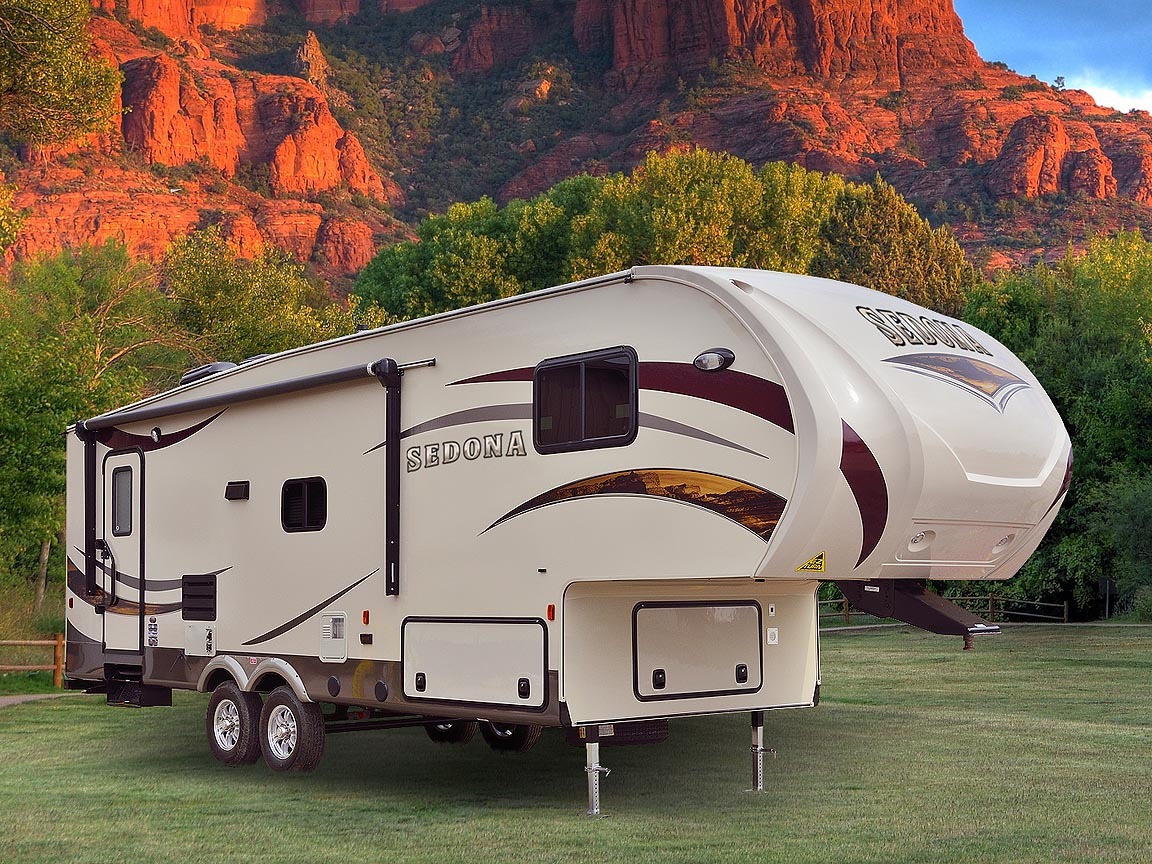
The Ultimate Towables
Our Fifth Wheels are easy to maneuver, tow like a dream, and give you great living space. No wonder they're the perfect choice for people with pickups!
-
Motor Homes
- Shopping Tools
- Dealer Locator
- Employment & Company News
- Owner Resources
Winterizing your Travel Trailer
(Back to Table of Contents)
Your travel trailer and the systems in it are directly affected by extremes of temperature, wind, and rain. It is particularly important to guard against freezing during the cold months of the year when below-freezing temperatures can be expected and camping activity is suspended.
The goal of “winterizing” is to eliminate water that can freeze and severely damage water lines, appliances, tanks, and other parts of the plumbing system in your RV. There are varying methods of winterizing recommended by experts.
You can use either one of two basic winterizing processes: “Wet Winterizing” uses approved RV anti-freeze to keep lines, tanks, and fixtures from freezing. “Dry Winterizing” uses compressed air to eliminate any water from lines, tanks, and fixtures that would cause damage.
Method One: “Wet Winterizing” - Using RV Anti-Freeze
- Purchase 4-6 gallons of non-toxic, RV-approved anti-freeze. NEVER use automotive anti- freeze or windshield de-icer in RV systems. These fluids are toxic to humans and animals, and will contaminate your tanks and lines.
- Use compressed air (30 PSI maximum) to blow out the black tank flush system, if so equipped. Alternatively, pump anti-freeze into the black tank flush using a hand pump.
- Drain all water from the fresh water tank. Drain waste-water holding tanks using approved methods.
- Turn off hot water heater. After water cools, drain the water heater tank.
- Turn water water bypass to the ‘bypass’ position. This keeps anti-freeze from entering the water heater, where it could damage components.
- Remove and discard the pre-pump water filter. Reconnect the line to/from the filter.
- Pour non-toxic RV anti-freeze into the fresh water tank using the fresh water fill inlet. Add anti-freeze to the minimum depth needed for the water pump to operate.
- Turn on pump and turn on the cold water stream until anti-freeze (usually pink) flows from each cold-water faucet. Repeat the process for all hot-water faucets the RV. Add more anti-freeze to the fresh water tank as needed to complete this process. Be sure to include all faucets, including shower and outside kitchen (if so equipped).
- Flush toilet(s) until anti-freeze appears in the bowl, then pour 1 quart of anti-freeze into the bowl to winterize the black tank.
- Pour approximately 1 quart of anti-freeze into each sink/tub/shower drain to fill p-traps.
Method Two: “Dry Winterizing” - Using Compressed Air and Anti-Freeze
- Purchase 1-2 gallons of non-toxic, RV-approved anti-freeze. NEVER use automotive anti- freeze or windshield de-icer in RV systems. These fluids are toxic to humans and animals, and will contaminate your tanks and lines.
- Pump anti-freeze into the black tank flush using a hand pump, Alternatively, use compressed air (30 PSI maximum) to blow out the black tank flush system.
- Drain all water from the fresh water tank. Drain waste-water holding tanks using approved methods.
- Turn off hot water heater. After water cools, drain the water heater tank.
- Turn water water bypass to the ‘bypass’ position.
- Remove and discard the pre-pump water filter. Reconnect the line to/from the filter.
- Open all faucets, including shower/bath, outdoor kitchen, etc. to drain water.
- Turn on water pump to clear water out of water lines and fixtures.
- Connect air pressure source to the city water fill inlet using an adapter
- Using no more than 30 PSI, use compressed air to blow out lines until no water is seen coming out of faucets and lines.
- Close all drains. Pour 1-2 quarts of anti-freeze into each drains, toilet and tank.
De-Winterizing the System
When the threat of freezing weather is past, the system has to be drained, filled, flushed, sanitized, and refilled before being used. Here are the steps:
- Ensure that the water heater bypass is still on, to keep any water from flowing into the water heater until the de-winterizing process is complete.
- Drain all tanks - Fresh water, grey, and black. Use an appropriate dump station. Close the drains after the water has drained.
- Use your potable water hose to fill the fresh water tank through the fresh water inlet.
- Turn on water pump and open all cold water faucets and valves. Leave each valve open until the water runs clear. Repeat the same process for the hot water faucets and valves.
- Flush toilet until clear water runs into the bowl.
- Dump tanks again; close drains after tanks are empty.
- Sanitize the water system. See our guide for the approved water system sanitation method.
- If a water filter is in place, clean the filter housing and replace the filter.
- Make sure the bypass allows water to enter the water heater before turning the water heater on.